Les étapes suivantes permettre d'installer un Serveur OpenSim en Hypergrid Standalone.
Fonctionne en local et sur Internet.
Télécharger Raspberry Pi OS
Allez sur https://www.raspberrypi.com/software/
Et téléchargez Raspberry Pi Imager et Raspberry Pi OS Lite en 32-bits
Raspberry Pi Imager: https://www.raspberrypi.com/software/
Raspberry Pi OS Lite: https://www.raspberrypi.com/software/operating-systems/
Raspberry Pi OS Lite (Legacy)
Release date: April 4th 2022
System: 32-bit
Kernel version: 5.10
Debian version: 10 (buster)
Size: 284MB
⚠️ Si vous prenez la version 11 ou 64 bits vous allez vous faire chier la bite parce que mono n'est disponible que sur buster en armhf
Creation de la carte SD
Branchez la carte SD que vous allez utiliser sur votre PC.
Installez Raspberry Pi Imager et lancez le a la fin de l'installation.
Cliquez sur CHOOSE OS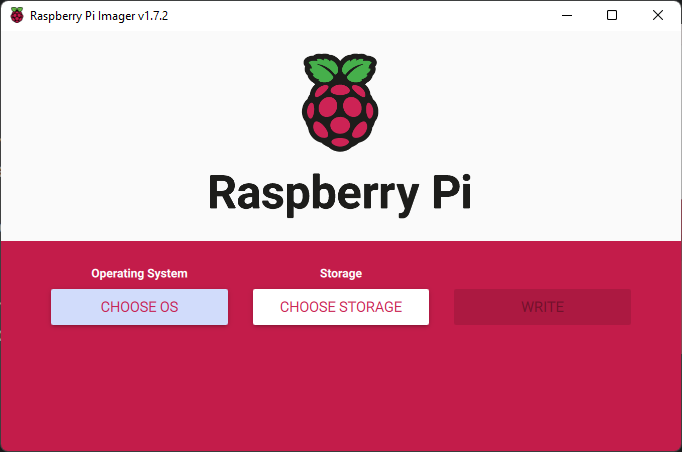
Puis Use Custom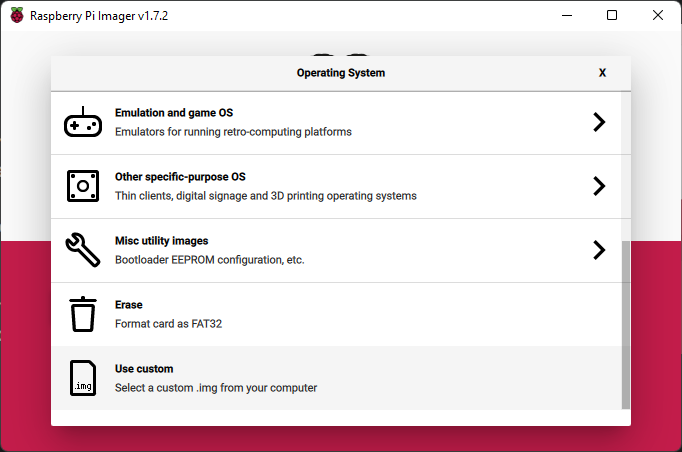
Choisissez le fichier img.xz précédemment téléchargé (2022-04-04-raspios-buster-armhf-lite.img.xz).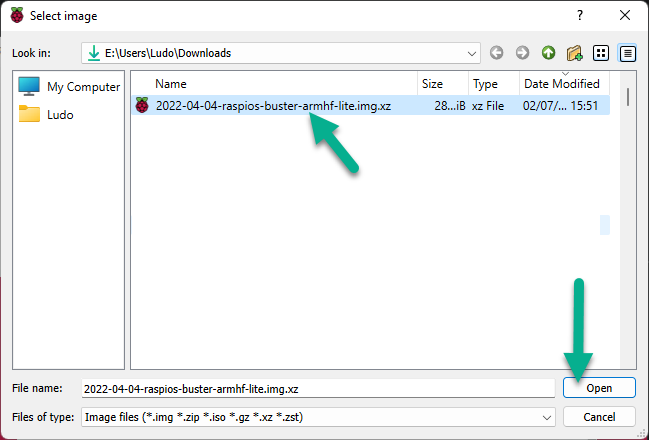
Dans Storage la Carte SD a utiliser et cliquez sur WRITE.
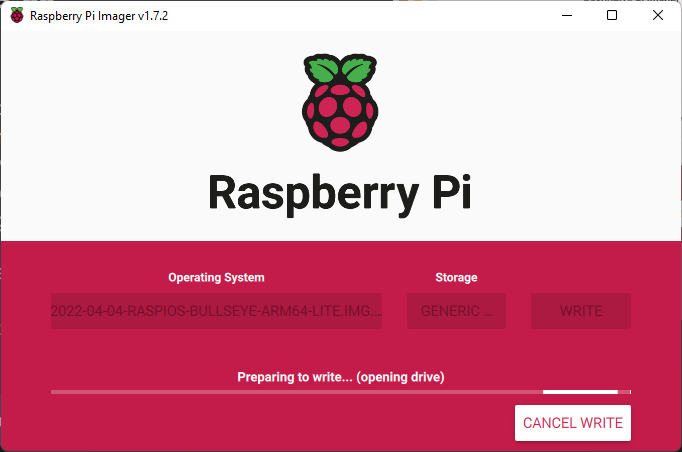
Une fois la carte SD écrite cliquez sur CONTINUE, fermez la fenêtre et retirez la carte du PC pour la mettre dans le Raspberry Pi.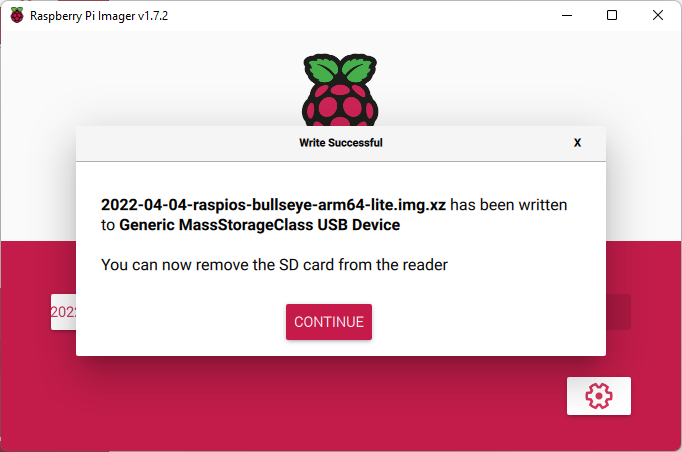
Une fois le Raspberry démarré utilisez cet identifiants:
Utilisateur: pi
Mot de passe: raspberry
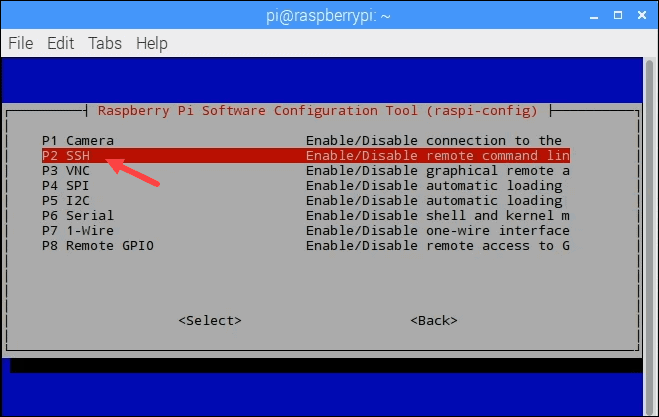
Activez le SSH
sudo raspi-config
Allez sur Interfacing Options puis SSH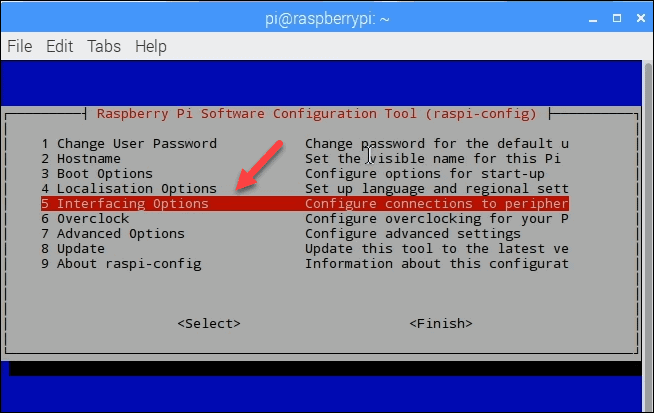
Téléchargez et installez Putty sur votre Ordinateur si vous ne l'avez pas déjà.
https://www.chiark.greenend.org.uk/~sgtatham/putty/latest.html
Connectez vous au Raspberry Pi avec Putty
Si vous ne connaissez pas son IP vous pouvez l'avoir avec la commande
ip a
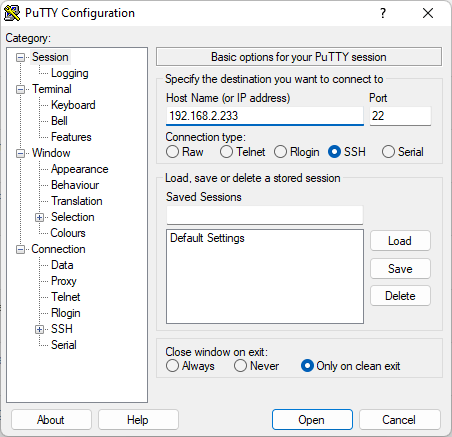
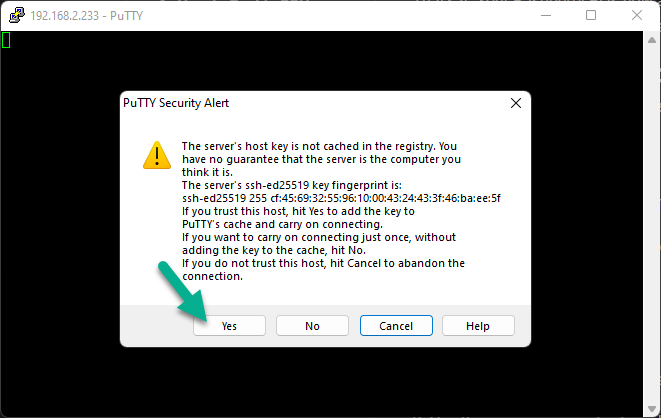
Identifiez vous avec pi et raspberry
Installation des dépendances
- mono
- unzip
- MariaDB
sudo apt install apt-transport-https dirmngr gnupg ca-certificates
sudo apt-key adv --keyserver hkp://keyserver.ubuntu.com:80 --recv-keys 3FA7E0328081BFF6A14DA29AA6A19B38D3D831EF
echo "deb https://download.mono-project.com/repo/debian stable-raspbianbuster main" | sudo tee /etc/apt/sources.list.d/mono-official-stable.list
sudo apt update
sudo apt dist-upgrade
sudo apt install mono-complete unzip mariadb-server screen
Sécurisez MariaDB:
sudo mysql_secure_installation
NOTE: RUNNING ALL PARTS OF THIS SCRIPT IS RECOMMENDED FOR ALL MariaDB
      SERVERS IN PRODUCTION USE!  PLEASE READ EACH STEP CAREFULLY!

In order to log into MariaDB to secure it, we'll need the current
password for the root user.  If you've just installed MariaDB, and
you haven't set the root password yet, the password will be blank,
so you should just press enter here.

Enter current password for root (enter for none):
OK, successfully used password, moving on...

Setting the root password ensures that nobody can log into the MariaDB
root user without the proper authorisation.

You already have a root password set, so you can safely answer 'n'.

Change the root password? [Y/n] n
 ... skipping.

By default, a MariaDB installation has an anonymous user, allowing anyone
to log into MariaDB without having to have a user account created for
them.  This is intended only for testing, and to make the installation
go a bit smoother.  You should remove them before moving into a
production environment.

Remove anonymous users? [Y/n] n
 ... skipping.

Normally, root should only be allowed to connect from 'localhost'.  This
ensures that someone cannot guess at the root password from the network.

Disallow root login remotely? [Y/n] Y
 ... Success!

By default, MariaDB comes with a database named 'test' that anyone can
access.  This is also intended only for testing, and should be removed
before moving into a production environment.

Remove test database and access to it? [Y/n] Y
 - Dropping test database...
 ... Success!
 - Removing privileges on test database...
 ... Success!

Reloading the privilege tables will ensure that all changes made so far
will take effect immediately.

Reload privilege tables now? [Y/n] Y
 ... Success!

Cleaning up...

All done!  If you've completed all of the above steps, your MariaDB
installation should now be secure.

Thanks for using MariaDB!
Paramétrez MySQL:
Éditez le fichier my.cnf et ajoutez ces parametres entre
[client-server] et !includedir /etc/mysql/conf.d/
sudo nano /etc/mysql/my.cnf
[mysqld]
default_storage_engine = InnoDB
disable_log_bin
innodb_buffer_pool_size = 2G
innodb_log_file_size = 256M
innodb_log_buffer_size = 16M
innodb_flush_method = O_DIRECT
innodb_flush_log_at_trx_commit = 0
innodb_buffer_pool_instances = 2
default-authentication-plugin=mysql_native_password
Ctrl+X pour sauvegarder
Redémarrez MySQL:
sudo service mysql restart
Creation de la base de donnée pour OpenSim:
sudo mysql -u root
mysql> create database opensim;
mysql> create user opensim identified by 'DB_Password';
mysql> create user 'opensim'@'localhost' identified by 'DB_Password';
mysql> GRANT ALL PRIVILEGES ON opensim.* TO 'opensim'@'localhost';
mysql> FLUSH PRIVILEGES;
mysql> \q
Téléchargement de OpenSim et configuration
cd ~
wget http://opensimulator.org/dist/opensim-0.9.2.1.zip
unzip opensim-0.9.2.1.zip
cd opensim-0.9.2.1/bin
Modifiez les lignes suivantes du fichier OpenSim.ini
nano -c OpenSim.ini
	[Const]
53		BaseHostname = "192.168.2.233"
62		PublicPort = "9000"

	[Startup]
265		physics = basicphysics

	[Map]
362		MapImageModule = "Warp3DImageModule"
377		TextureOnMapTile = true
382		DrawPrimOnMapTile = true
386		TexturePrims = true
394		RenderMeshes = true

	[Architecture]
1272	; Include-Architecture = "config-include/Standalone.ini"
1273	Include-Architecture = "config-include/StandaloneHypergrid.ini"
Ctrl+_ pour sauter a la ligne
Ctrl+X pour sauvegarder
Modifiez les lignes suivantes du fichier StandaloneCommon.ini
nano -c config-include/StandaloneCommon.ini
9		; Include-Storage = "config-include/storage/SQLiteStandalone.ini";
18		StorageProvider = "OpenSim.Data.MySQL.dll"
19		ConnectionString = "Data Source=localhost;Database=opensim;User ID=opensim;Password=DB_Password;Old Guids=true;SslMode=None;"
50		GatekeeperURI = "${Const|BaseURL}:${Const|PublicPort}"
Lancez OpenSim
mono OpenSim.exe
Répondez aux questions celons vos preferences:
=====================================

We are now going to ask a couple of questions about your region.

You can press 'enter' without typing anything to use the default

the default is displayed between [ ] brackets.

=====================================

New region name []: RPI
RegionUUID [0e0e2347-6f7c-41d7-896d-840f22dc76fb]:
Region Location [1000,1000]:
Internal IP address [0.0.0.0]:
Internal port [9000]:
Resolve hostname to IP on start (for running inside Docker) [False]:
External host name [SYSTEMIP]: 192.168.2.233

Estate RPI has no owner set.
Estate owner first name [Test]: Ludo
Estate owner last name [User]: Davis
Password:
Email:
User ID [f920bb41-5f4b-4657-bae0-ca241fcfcc0a]:
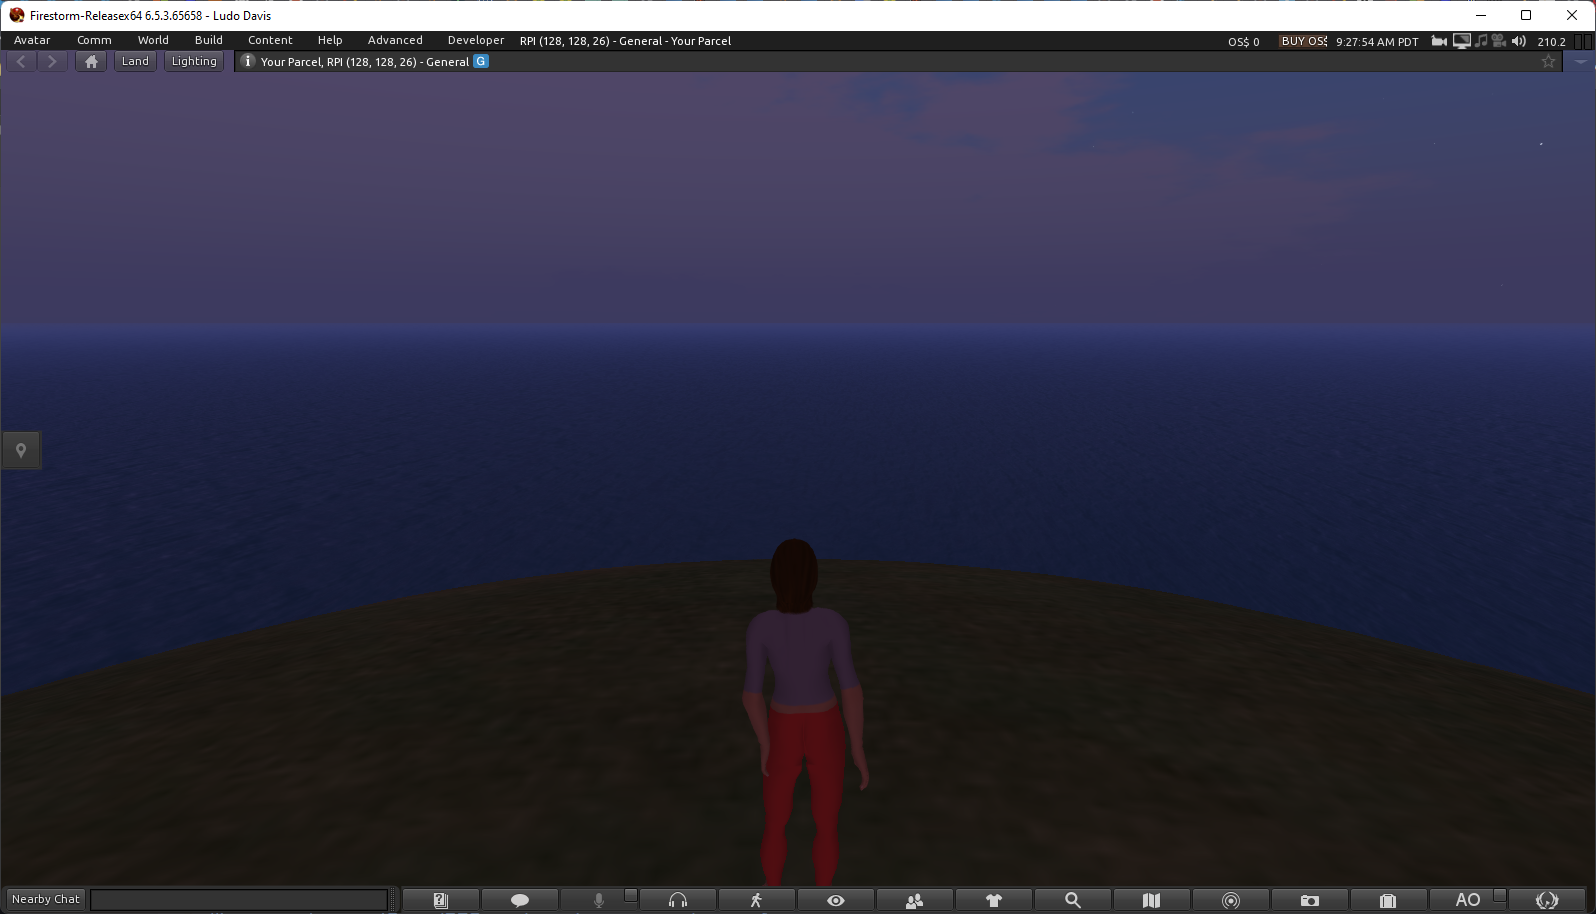
Lancez Firestorm et essayez de vous connecter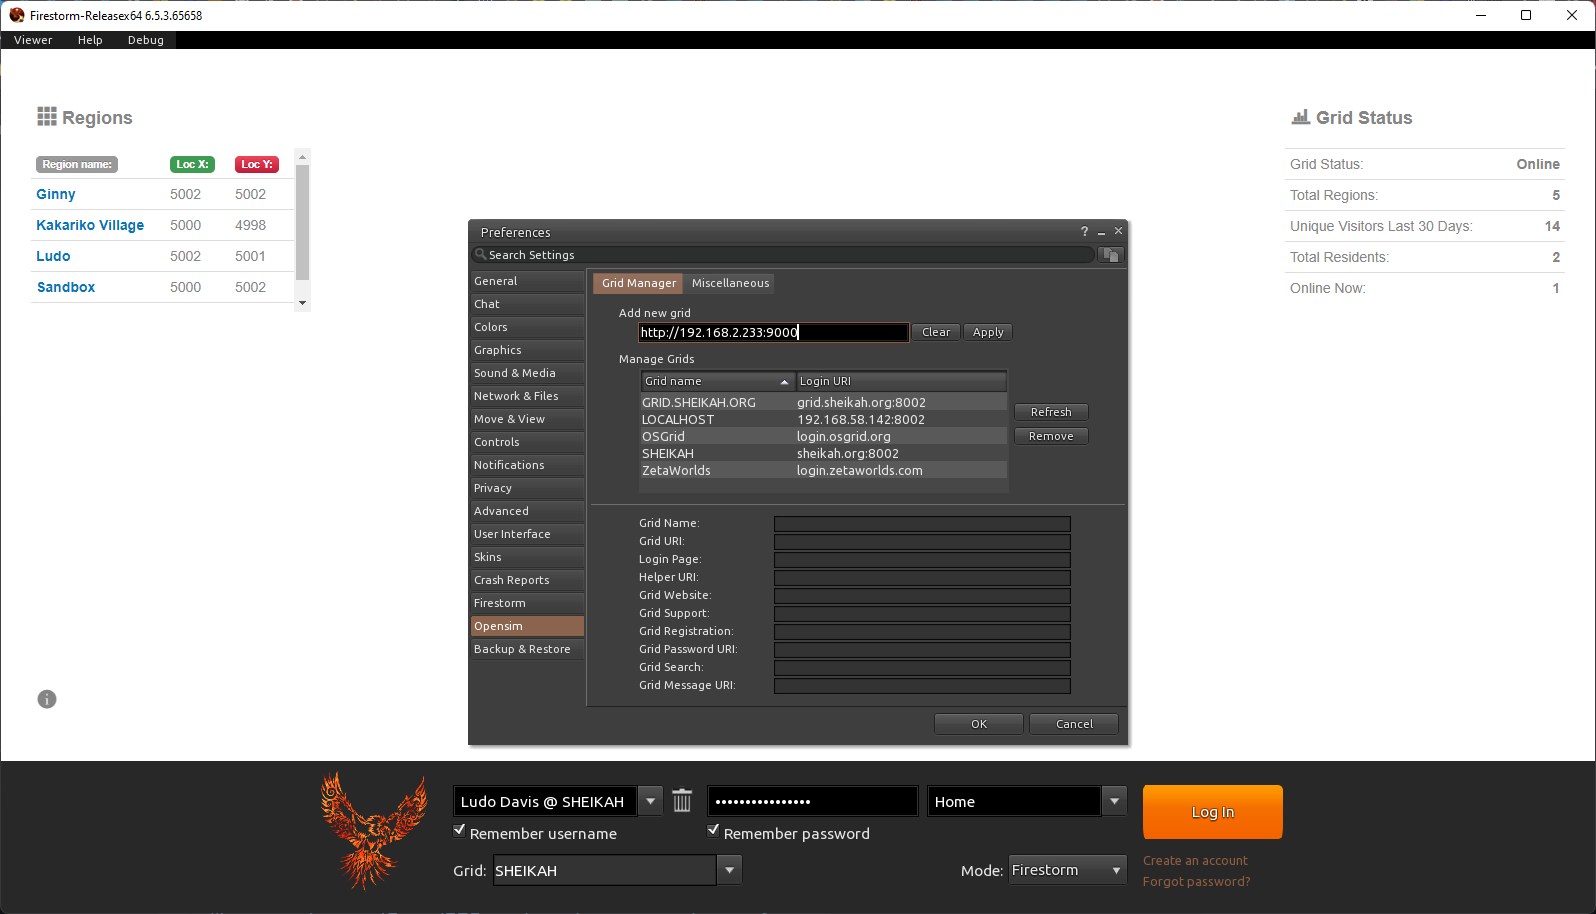
Si vous prévoyez de mettre la grille sur Internet il faudra rediriger vos ports et faire ces changements:
Il faut modifier le fichier Region.ini avec l'IP externe (pas le nom de domaine) et interne.
InternalAddress = IP_INTERNE
ExternalHostName = IP_EXTERNE
Et re-router le trafic:
iptables -t nat -A OUTPUT --dst IP_EXTERNE -p tcp --dport 9000:9100 -j DNAT --to-destination IP_INTERNE
iptables -t nat -A OUTPUT --dst IP_EXTERNE -p udp --dport 9000:9100 -j DNAT --to-destination IP_INTERNE
Pensez a changer le mot de passe du Raspberry:
passwd
Et ajoutez les règles sur le pare-feu:
sudo ufw allow "OpenSSH"
sudo ufw allow 9000:9100/udp
sudo ufw enable